Switching from Canvas to OpenGL ES
It is about time we delve into the graphical capabilities of the Android platform. Android supports the OpenGL ES API. Needless to say that offloading graphics handling to a dedicated GPU is way more optimal than doing it in the CPU. Most android devices have such a dedicated GPU.
OpenGL is an API for writing 2D and 3D graphics that is rendered on the GPU. This will free up precious computing resources on the CPU to be used for more complex physics or more entities or anything not related to graphics.
There are a few notions that need to be understood but I will introduce them when we will bump into them during the course.
If you followed the articles related to displaying graphics on an android device, you already know that in order to display graphical elements, we need a surface and a renderer. We used a basic SurfaceView from which we obtained the Canvas and we drew everything onto it by calling the supported draw method from within our game loop.
Using OpenGL is not much different. Android comes with a dedicated implementation of the SurfaceView interface for displaying images rendered by OpenGL.
Let’s create the android project the usual way.
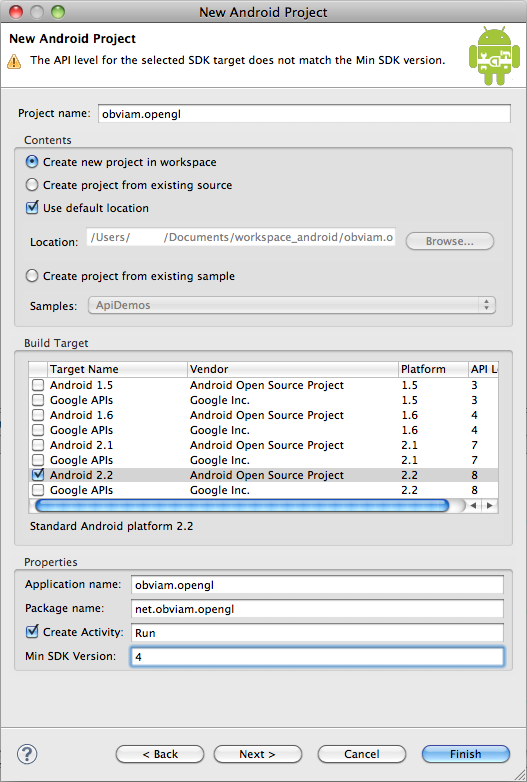
Project Wizard
I call the activity simply Run. Check what the wizard has generated and it should look like this:
public class Run extends Activity {

    /** Called when the activity is first created. */

    @Override

    public void onCreate(Bundle savedInstanceState) {

        super.onCreate(savedInstanceState);

        setContentView(R.layout.main);

    }

}
Nothing special.
Creating the OpenGL renderer
Let’s build the renderer. Create a class GlRenderer which implements the android.opengl.GLSurfaceView.Renderer interface.
It will look like this:
import javax.microedition.khronos.egl.EGLConfig;

import javax.microedition.khronos.opengles.GL10;


import android.opengl.GLSurfaceView.Renderer;


public class GlRenderer implements Renderer {


    @Override

    public void onDrawFrame(GL10 gl) {

    }


    @Override

    public void onSurfaceChanged(GL10 gl, int width, int height) {

    }


    @Override

    public void onSurfaceCreated(GL10 gl, EGLConfig config) {

    }

}
We need to implement the above 3 methods. Currently they are empty and do nothing.
The methods
onSurfaceCreated(GL10 gl, EGLConfig config) created or recreated. It is important to bear the recreated bit in mind as it means every time the device goes to sleep for example and awakes, the surface gets recreated. Because the context which holds the resources gets destroyed too, this is the place where we will load our resources (images for textures, etc).
onSurfaceChanged(GL10 gl, int width, int height) is called whenever the surface size changes. This mainly affects our viewport. The viewport is just a rectangular region through which we see our game world.
onDrawFrame(GL10 gl) is called by the rendering thread to draw each frame. This is where all the drawing happens. We don’t need to call it explicitly. A rendering thread is created by android for us and that will call it.
Let’s switch to the OpenGL renderer. Check out the new Run activity.
Let’s switch to the OpenGL renderer. Check out the new Run activity.
package net.obviam.opengl;


import android.app.Activity;

import android.opengl.GLSurfaceView;

import android.os.Bundle;

import android.view.Window;

import android.view.WindowManager;


public class Run extends Activity {


    /** The OpenGL view */

    private GLSurfaceView glSurfaceView;


    /** Called when the activity is first created. */

    @Override

    public void onCreate(Bundle savedInstanceState) {

        super.onCreate(savedInstanceState);


        // requesting to turn the title OFF

        requestWindowFeature(Window.FEATURE_NO_TITLE);

        // making it full screen

        getWindow().setFlags(WindowManager.LayoutParams.FLAG_FULLSCREEN,

                WindowManager.LayoutParams.FLAG_FULLSCREEN);


        // Initiate the Open GL view and

        // create an instance with this activity

        glSurfaceView = new GLSurfaceView(this);


        // set our renderer to be the main renderer with

        // the current activity context

        glSurfaceView.setRenderer(new GlRenderer());

        setContentView(glSurfaceView);

    }


    /** Remember to resume the glSurface  */

    @Override

    protected void onResume() {

        super.onResume();

        glSurfaceView.onResume();

    }


    /** Also pause the glSurface  */

    @Override

    protected void onPause() {

        super.onPause();

        glSurfaceView.onPause();

    }

}
In line 12 we declare a GLSurfaceView member variable. This is our OpenGL view provided by android. When we instantiate it (line 27) we have to make it context aware. That is, for the view to have access to the application environment.
All we need to do is to add our renderer to this view. This we do in line 31.
Line 32 tells the activity to use our OpenGL view.
The onResume() and onPause() methods are being overridden and trigger the respective methods in our view.
You can run the application as an Android app and you should see a blank black screen.
That is it. We have switched from the canvas to the OpenGL renderer.
Download the source code and eclipse project here (TBD)